Playlists are everywhere. In our ears, of course, but also in our friends’ speakers and our streaming platforms. These services know their importance and music’s ever-growing “community” dimension. To this end, some streaming services have created a system for creating collaborative playlists. So, you may be wondering how to make a collaborative playlist on Spotify or Apple Music.

Soundiiz explains it all step by step and tells you how to get the most out of these playlists.
Why would I want to create a collaborative Spotify or Apple Music playlist?
Maybe you’re that music-loving friend constantly asked to play music at parties. And you might want to get other people involved in the soundtrack so that you no longer are the only one carrying this mission. A collaborative playlist managed with several of your friends becomes an exciting solution.
Or you’re in a relationship with someone who doesn’t share precisely the same musical tastes as you. Deciding what music to play at home or during a shared car journey may be challenging. You’ll probably want to see some common ground, and a collaborative playlist combining your respective tastes could be the solution.
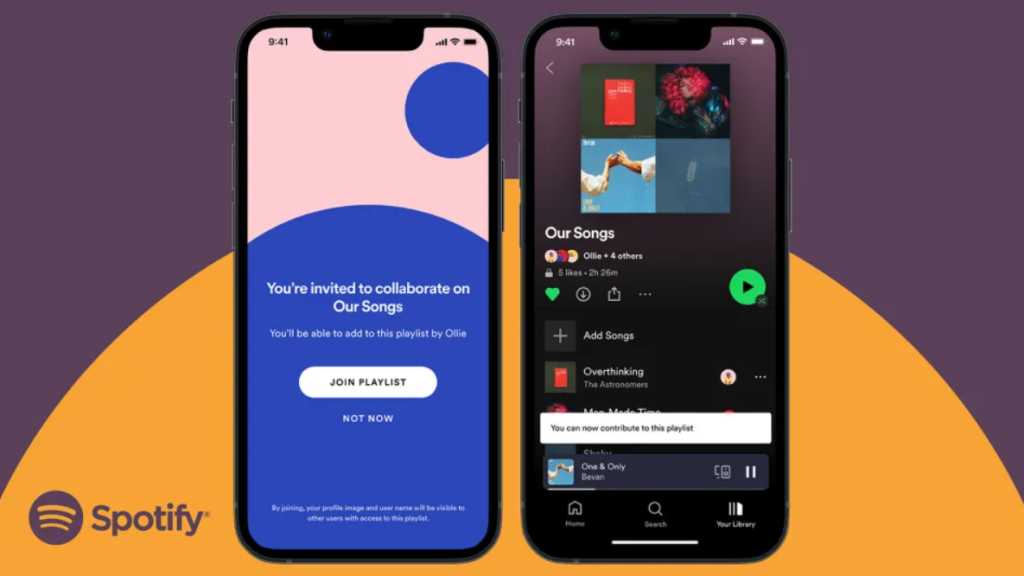
Imagine you also manage a music medium renowned for its taste and ability to discover new artists. If you’re not alone, you need all your collaborators to feed these playlists and make them as attractive as possible so you can share them with your audience.
By creating a collaborative playlist, you’re finally honoring one of the things that makes up the music-listening experience: creating a sense of community. Once someone has agreed to collaborate with you on a playlist, they become its manager, just like you. They can add songs, change their order, modify the playlist illustration image, delete tracks… Just like you!
A few things to know about collaborative playlists
Up to 1,000 people can participate in a collaborative playlist. That should be enough. Note, however, that you won’t receive any notification when someone adds or deletes a song; the playlist will be updated automatically. It is, therefore, necessary to establish rules between you and your collaborators beforehand so that playlists can be built in complete confidence.
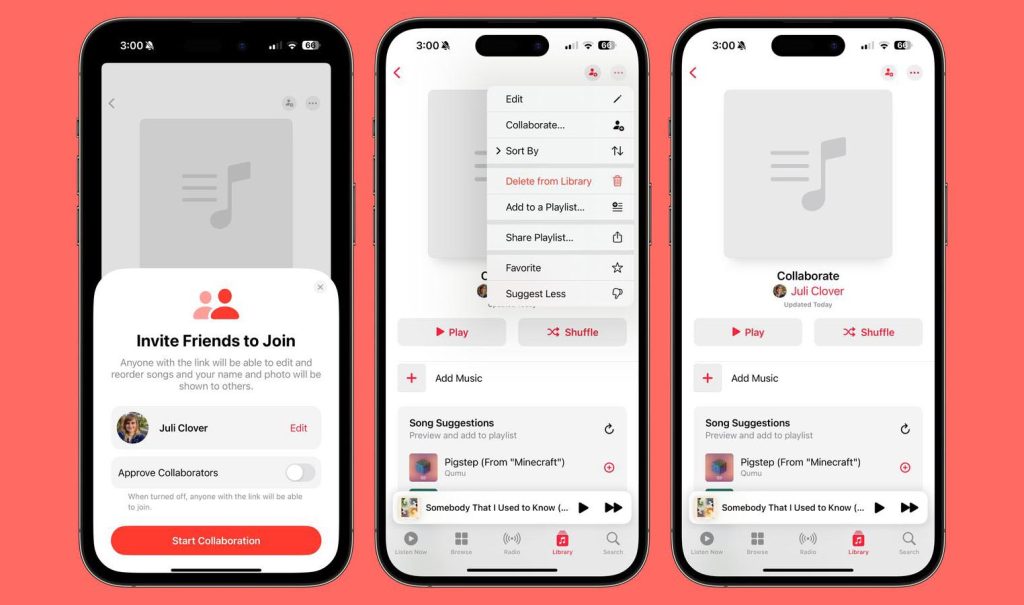
If you don’t want your collaborative playlist accessible to the whole world, you can set it to “private” mode as with any other playlist. Only you and your collaborators will have access to your playlists. So you can work in total peace of mind!
There are a multitude of reasons why you should create a collaborative playlist. But let’s cut to the chase: how do you go about it?
How to make a collaborative playlist on Spotify or Apple Music: step-by-step
We’ll detail the procedures for Spotify and Apple Music, as these are two of the world’s most widely used streaming services. Still, the way of doing things is almost the same for all the other streaming platforms offering collaborative playlists. Everything is generally intuitive.
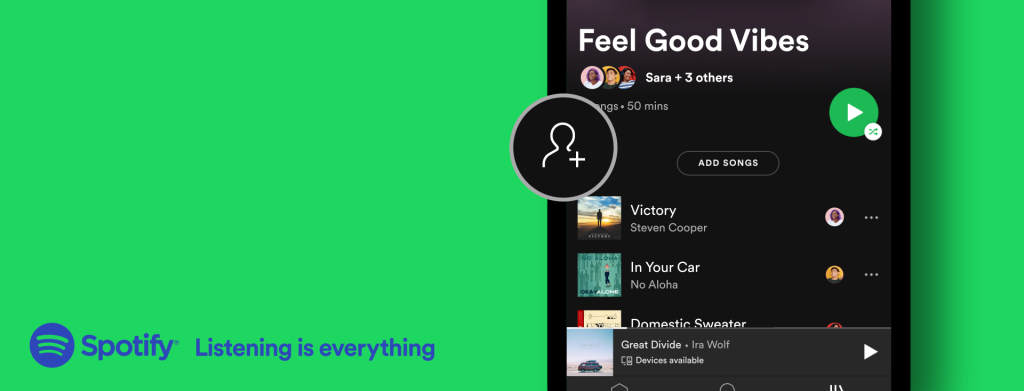
On Spotify for desktop:
- Open your Spotify application on your computer.
- Click on the “Library” icon in the left-hand column of your home page.
- Click the “+” icon and select “Create a playlist.”
- Enter as much information as you like; you can modify this data later.
- Your playlist is now created.
- On your playlist page, click on the three dots “…” and then select “Invite collaborators” from the drop-down menu.
- Spotify will automatically copy your playlist link so you can share it wherever you like. You can send it by WhatsApp, e-mail, or message.
- Anyone with the link will be able to collaborate on the playlist.
On Spotify mobile:
- Open your Spotify application on your smartphone
- Click on the “Library” icon at the bottom right of your screen
- Once on the page, click on the “+” button at the top right
- Click on “Playlist” and enter a name for your playlist
- On the page that appears, click on the three small dots, then in the drop-down menu, click “Invite collaborators.”
- Spotify offers several sharing options, so you can share the link with as many people as you like.
- Once these people have the link, they can collaborate on your playlist!
On Apple Music for desktop:
- Open your Apple Music application.
- At the bottom of your screen, you should see a “My Music” section. Click on it.
- Select “New” in the top right-hand corner to create a playlist.
- On the playlist page, you should see three small dots; if you click on them, you’ll have access to a “Share Playlist” button.
- Now, you must send the generated link to everyone you want to collaborate with on this playlist.
If you want to create a collaborative playlist on your Apple Music app on your smartphone, follow the same steps above.
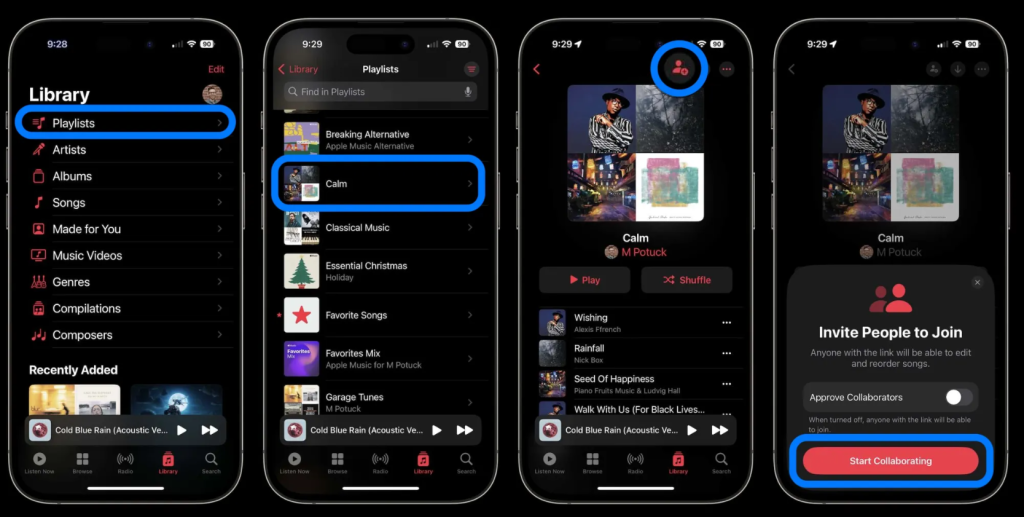
Note: You can transform any “classic” playlist into a collaborative playlist. All you have to do is be the creator and then select “Invite collaborators.”
Using a Smartlink to share everything!
A smart link is a link that allows you to store a multitude of other links in the same place. It’s a landing page that provides access to other links generated on different websites. Artists use them, for example, to promote their songs. With a Smartlink, you can redirect everyone to the streaming services they use. It works the same way with albums or songs.
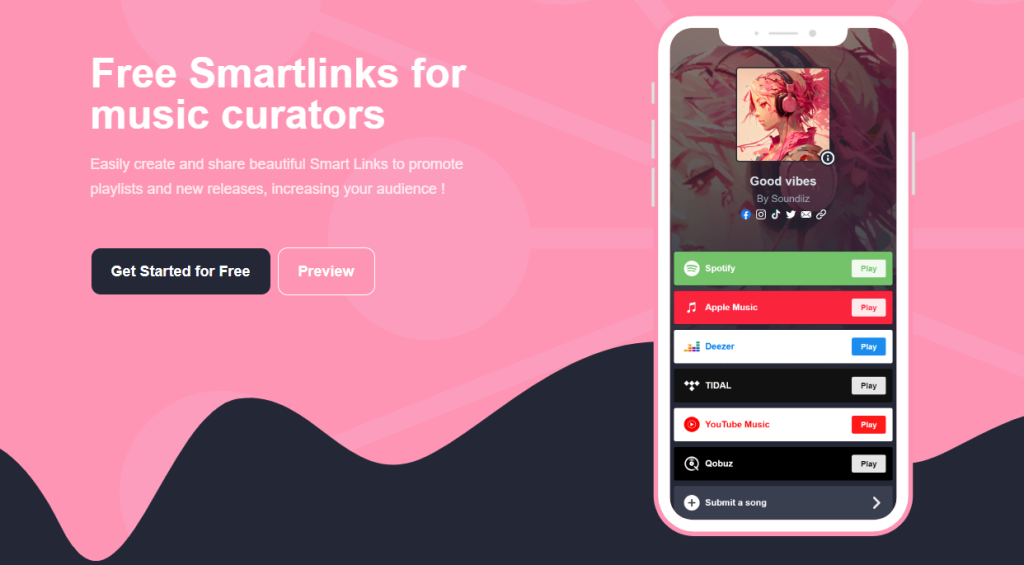
Imagine you’ve just released a playlist you like. Once your album is available, you’ll no doubt want to share it without creating a link for each platform. Creating a Smartlink with Soundiiz makes it possible to do this in seconds.
How can I transfer the playlists I made on Spotify or Apple Music?
Once you’ve finished creating your playlist on Spotify, Apple Music, or any other streaming platform, you can transfer it to another service to manage it elsewhere than on the original platform. With Soundiiz, this is possible, and in just a few minutes.
Thanks to Soundiiz, all the above playlists can be transferred to any platform, from Spotify to Deezer, for example, or to your Soundiiz account. To do this, you can use our world-renowned Transfer function.

Let’s say you’ve spent hours and hours building your playlists on Spotify, but you’d like to try another service. One of the questions our users often ask is: Will I lose everything? My favorite artists, my playlists, my albums? It’s a legitimate fear. That’s one of the reasons why Soundiiz was created: to ensure your data is recovered when you change platforms.
Our services are top-rated because they make it easy to transfer everything in just a few steps.
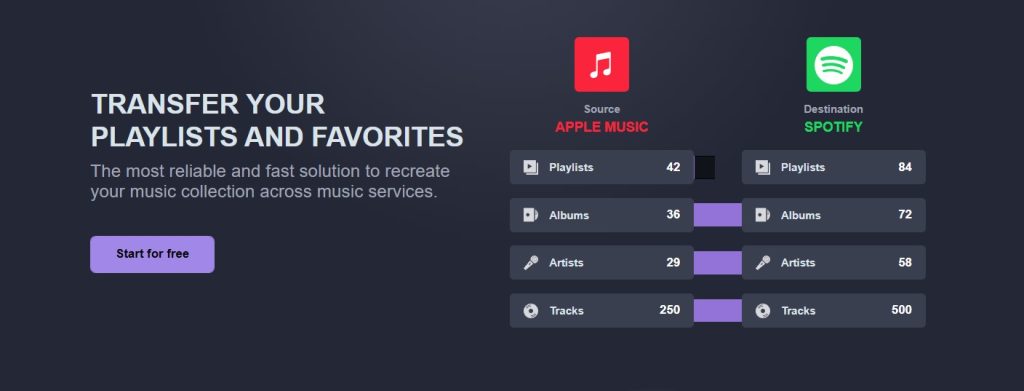
Another use could be to subscribe to a streaming platform, using the free trial period, retrieve the playlists from that platform, transfer them to your Soundiiz account or the platform you want to use daily, and then cancel your subscription.
In short, Soundiiz lets you make the most of all streaming platforms!

